A Beginner's Guide to WAGO 221-2411 Inline Splicing Connectors
If you're new to the world of electrical work, welcome! Today, we’re excited to introduce you to the Wago 221-2411 inline splicing connectors, a game-changer for both professionals and DIY enthusiasts. These connectors are designed to make electrical splicing straightforward, safe, and efficient.
What is the Wago 221-2411?

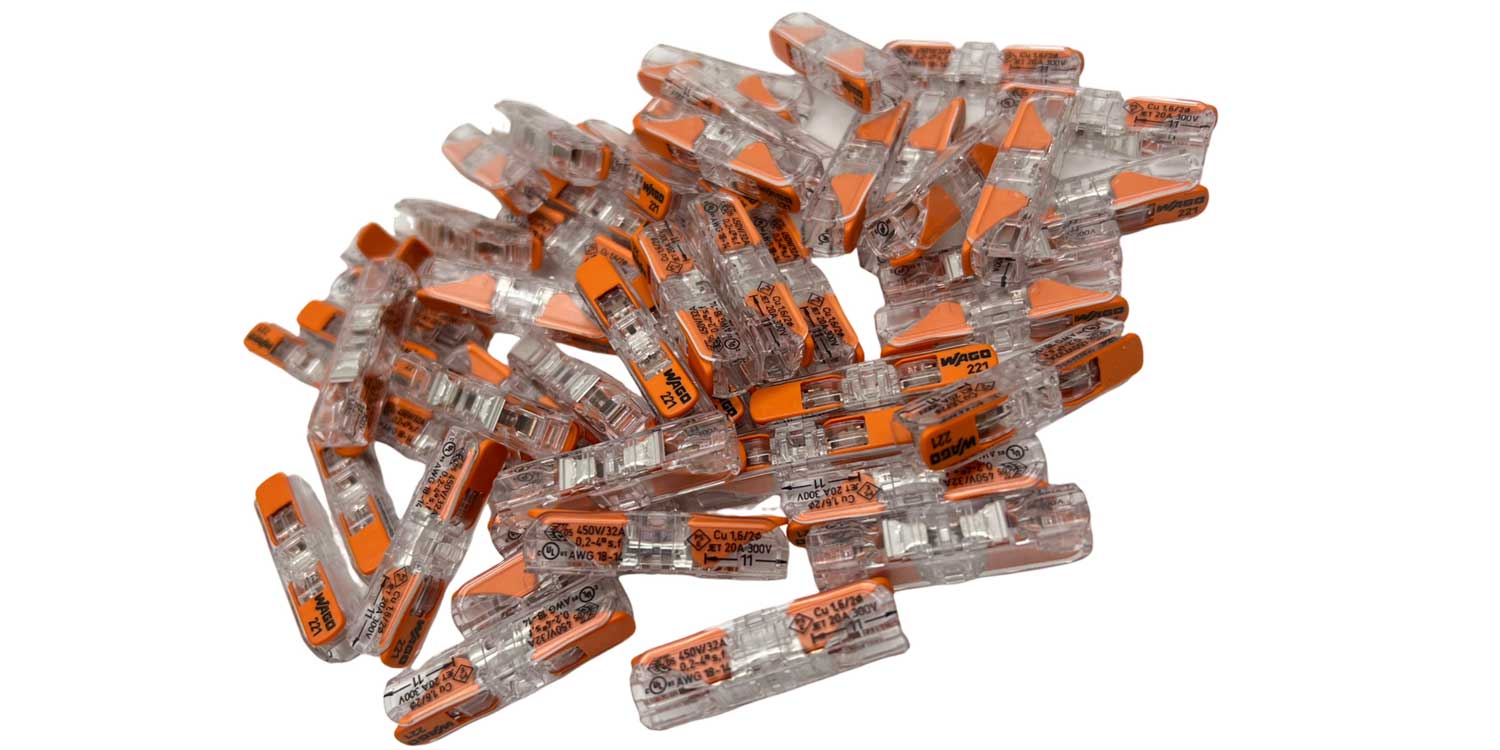
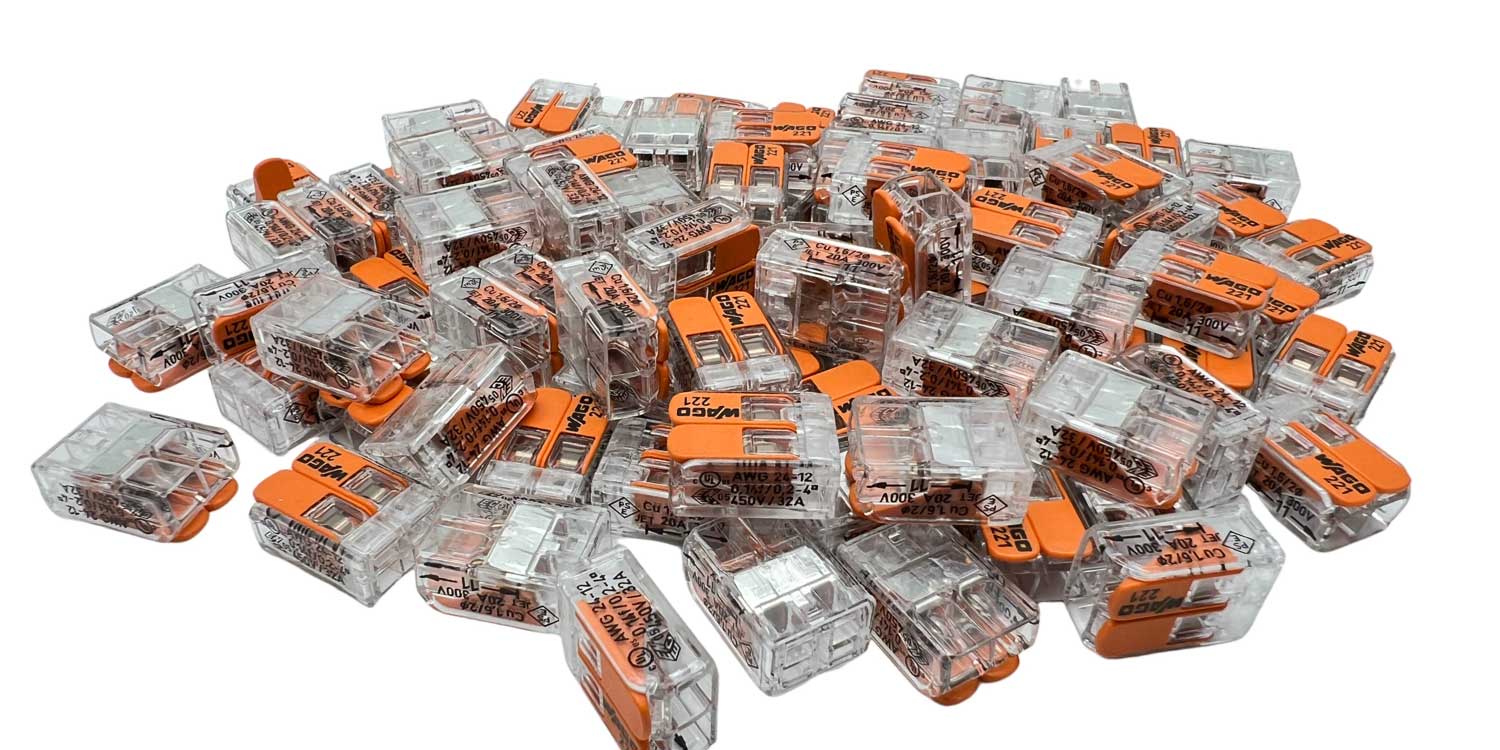
The Wago 221-2411 is part of the popular Wago 221 series, known for its user-friendly design and reliable performance. These inline splicing connectors feature a compact, transparent housing that allows you to see the wire connections clearly. The standout feature is its lever mechanism, which enables tool-free wire insertion and removal, accommodating wire sizes from 24 to 12 AWG. With a voltage rating of up to 400V and a current rating of 32A, these connectors are versatile and can be used in various applications, from home wiring projects to industrial installations.
How to Use the Wago 221-2411: Step-by-Step
-
Prepare the Wires: Begin by stripping the insulation off the ends of the wires you wish to connect. The exposed length should be about 11mm (0.43 inches).
-
Open the Connector: Lift the lever on the Wago 221-2411 connector to open the clamping unit. This action creates an opening for the wire.
-
Insert the Wires: Insert the stripped end of the wire into the connector’s slot. Ensure the wire is fully inserted, with no bare wire exposed.
-
Secure the Connection: Push the lever back down to its original position. This action clamps the wire securely in place, ensuring a solid connection.
-
Check Your Work: Double-check that the wire is properly inserted and the lever is fully down. The transparent housing helps you verify the connection visually.
These steps make using the Wago 221-2411 quick and easy, even for beginners. Its intuitive design and secure connections make it an essential tool for any electrical project. Happy wiring!


